Pages

Sunday, August 17, 2014

Kitchen Transformation

Kitchen Makeover!! 

One of the reasons I wanted to start a blog was because I've done a ton to my townhouse that I bought last year and wanted to be able to document the changes. I bought a wonderful 1400 sq ft townhouse end unit that is about 10 years old and pretty much no updates besides some flooring. Challenge accepted. Now because I didn't know I was going to start a blog I didn't document my process very well and wish I could give huge shout outs to the blogs that helped me along the way. All I have now are these wonderful pictures!!


Here is the before picture of the kitchen, oak cabinets, no hardware, no style. I save you the pain of having to see the fluorescent light that was there as well. 


First thing first, priming. Sanding and priming. This process was miserable and tough to do considering my house doesn't have a garage. The problem with painting and priming outside is the wind blows all kinds of crap onto the cabinets while they are drying. Not ideal but I made the best of it. 


This was definitely a process, as you can note the bottle of wine on the island. I basically did the cabinets in two phases, upper and lower. Here you can also see the wall color we picked... chalkboard paint! 


And here we see the addition of hardware, man I am so happy to not have my hands all over the cabinets anymore! And next we have... 


The final project!!!!!!!!!!!!! Yay! So happy to finally have this project complete after a grueling three weeks and countless cuss words. So proud to have done this makeover all by myself and it come out so wonderfully! 


All in all this project only cost me one gallon of paint, one gallon of primer, blue painters tape and hardware. Easily done under $100. Go me! 

Sunday, August 10, 2014

Earring Holder for Studs!!

I have an awesome necklace holder that my mom got for me on one of her many adventures in Canada but I don't have anything to organize my earrings. Sharing a small bathroom with your significant other is hard enough but when you have your jewelry every where... ya, doesn't help. At all. So I went to Pinterest to get my next craft project to help solve part 1 of my earring problem. During my search I came across Tina Phan's blog.

Let me say this first... her photography skills are FAR better than mine and I'm more than slightly jealous. Regardless I dove in and followed her tutorial and tried to document my attempt as well. Here we go! 

First... I forgot to take a picture of the box before (bad Claire!) but here is where I started. I spray painted the outside of the box because I was too impatient to paint it after realizing it was going to take two coats. I also sprayed it with a clear coat because I don't trust glittery spray paint to not go nuts. So instead I spray painted the box silver and added a blue trim for a pop of color. 


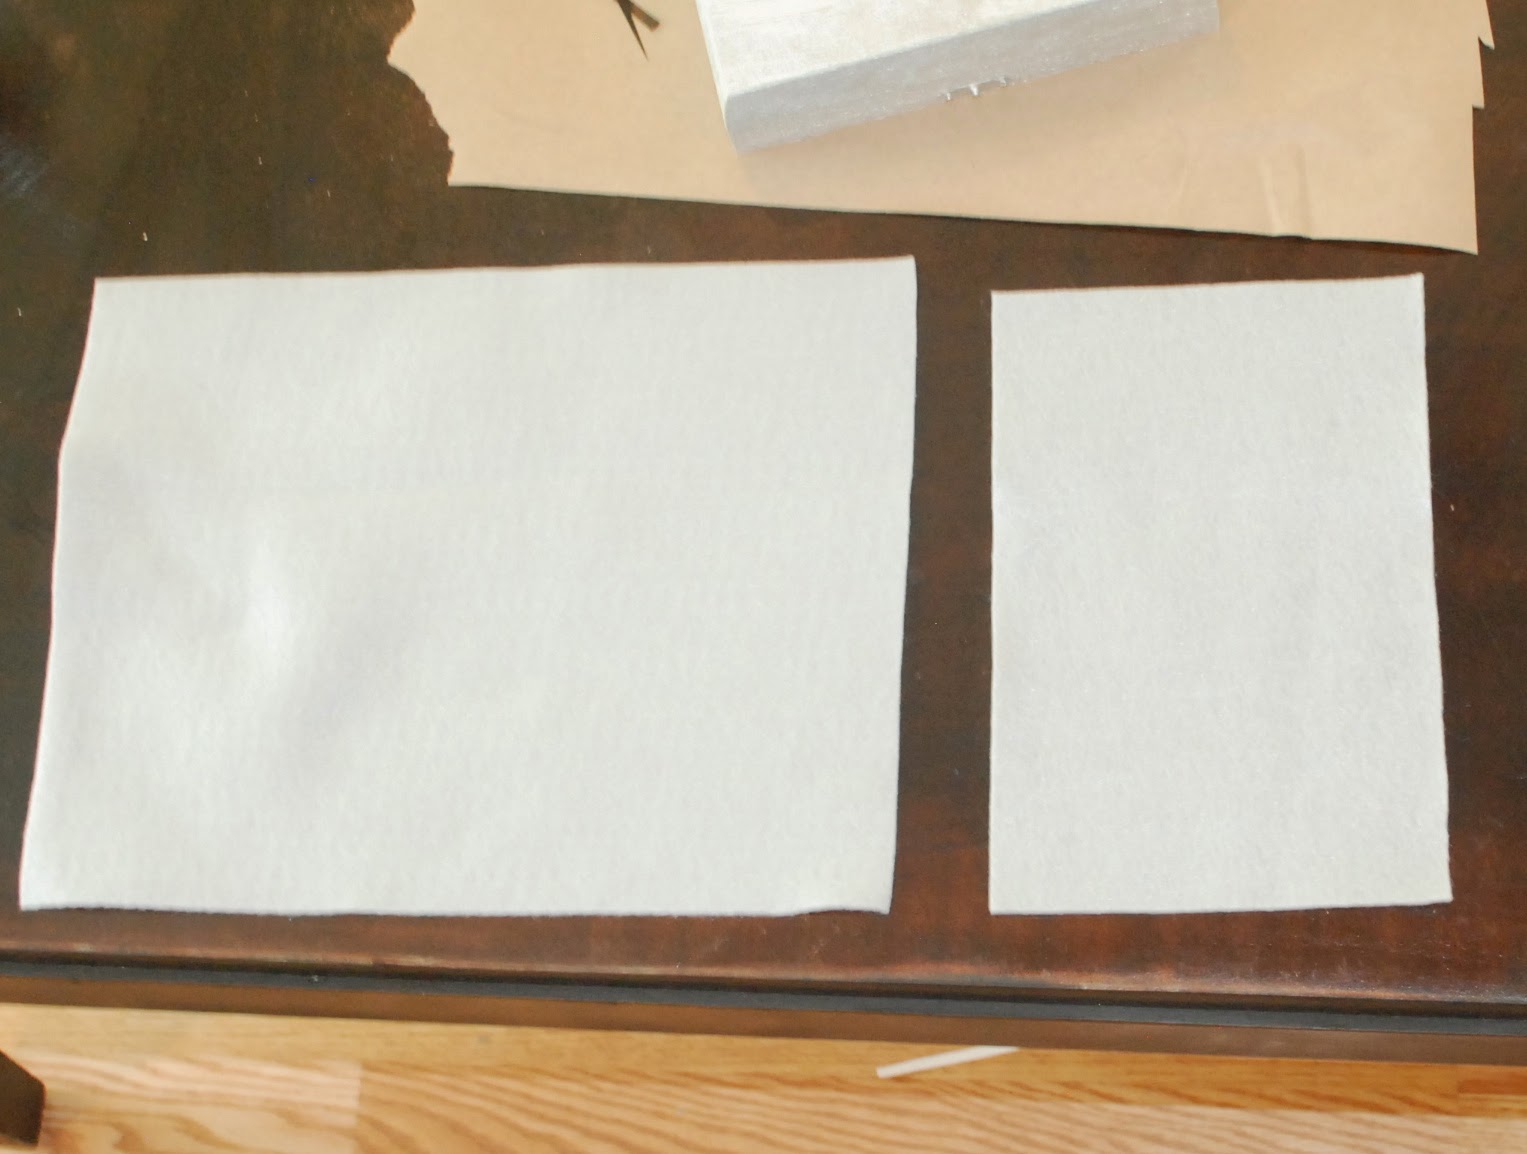
I bought felt sheets from Michael's and cut the sheet in half like a hamburger, not hotdog. I then had to trim down the width of felt because they were too long. 


Once the felt was cut to size I started rolling the felt and putting it in the box, making sure to squeeze them tight against the front of the box so I could fit as many as possible in. 


Now that I've squeezed as many felt rolls as possible into the box I'm ready to test it out! In Tina's blog she added a touch of class to her earring box but covering the felt with fabric. I'm happy with this raw look so I went ahead and left it as is! 


Boom. Load it up with your studs and you're done! 


Tuesday, July 22, 2014

What a Deer

Pinterest is one of my go-to's for inspiration when I'm trying to get a new project going. There are so many wonderful blogs out there that are so good at documenting and posting their work and tutorials. I'm just like the rest of you out there who have had my own 'Pinterest-Fails' which I'm sure I'll include on here. Now that I've got some of the kinks out of a handful of projects I feel like I can put them up here and be proud! Here is my wonderful Deer Pallet: 


Mind you I will do a better job documenting this process now that I have a place to do so, but every once and a while I make one of these guys and it's one of my top selling items on Etsy next to my Glitter States. If you have the time, materials and patience you can do this yourself too! 

I will say one of the most expensive things about crafting is getting the right tools together. Sure when I started working with pallets my cheap saw did the trick but let me tell you, you pay for quality and those things don't last long. I'll rant more about that later! 

-c

Welcome!


Welcome to my first blog post!

I just wanted a place to put all my creations and inspirations for all to see! I'm an amateur creator, avid Pinterest surfer and new Etsy shop owner. I saw the below picture one time and it pretty much summed it for me. Even if no one wants my shit I'm still going to make it!! So here we go!